Happy St. Valentine’s Day! Even though the feast of St. Valentine was officially taken off the church calendar years ago doesn’t mean we can’t still celebrate this Saint.
If you look into his history, you’ll of course find lots of lore and legend. There isn’t much known for sure about him anymore, save that he was a martyr. But, he is the patron of plagues (appropriate for this year), happy marriages (appropriate for this National Marriage Week) bee keepers (interesting given the symbols of Valentine’s Day), greetings (which he may have done remotely from prison if the stories are correct, giving all of us even more reason to think of him), and love (which everyone always craves, but particularly this year).
Around our house, it’s been difficult to get the kids to do anything extra beyond distance learning school work. And, the grocery store had nothing fun in the grab-and-go valentine variety. Still, I didn’t want to let the day pass us by without a bit of evangelization. It’s a Catholic school PreK year for us, after all! With our third, we had done Fruit Loop rosaries. I was looking forward to a repeat, until I thought about covid. Maybe four kids handling – I mean really handling – lots of Fruit Loops to give to other people isn’t the best idea for the time being.
Instead, I whipped up a prototype, showed it to my PreK-er, and got the approval I was looking for. Then, I snagged my son’s timer and racked up the minutes making the first one. I’m not going to lie; it takes about 10 minutes per, sometimes more. But, the steps are relatively simple.
First, cut a chunk of wood in a square or rectangle about 3.5″x3.5″. (If you slice pieces of a 1×4 off with a saw, this will be no sweat.) Sand the chunks.
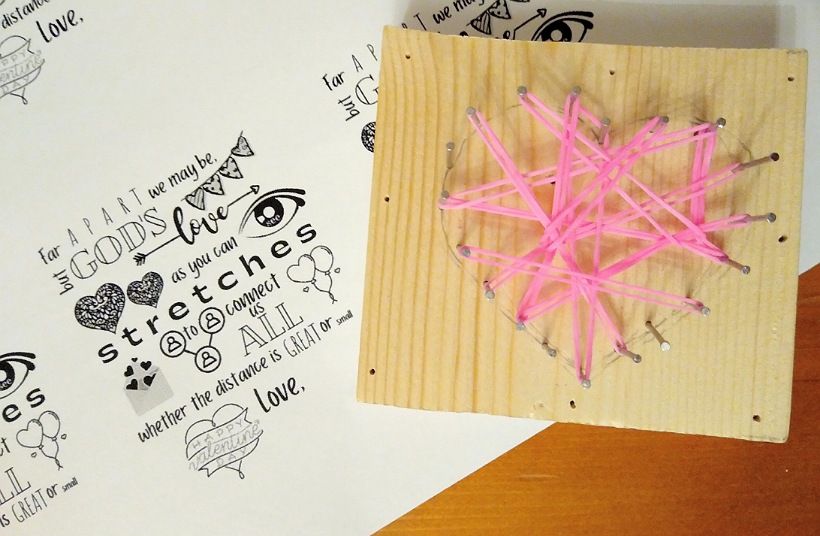
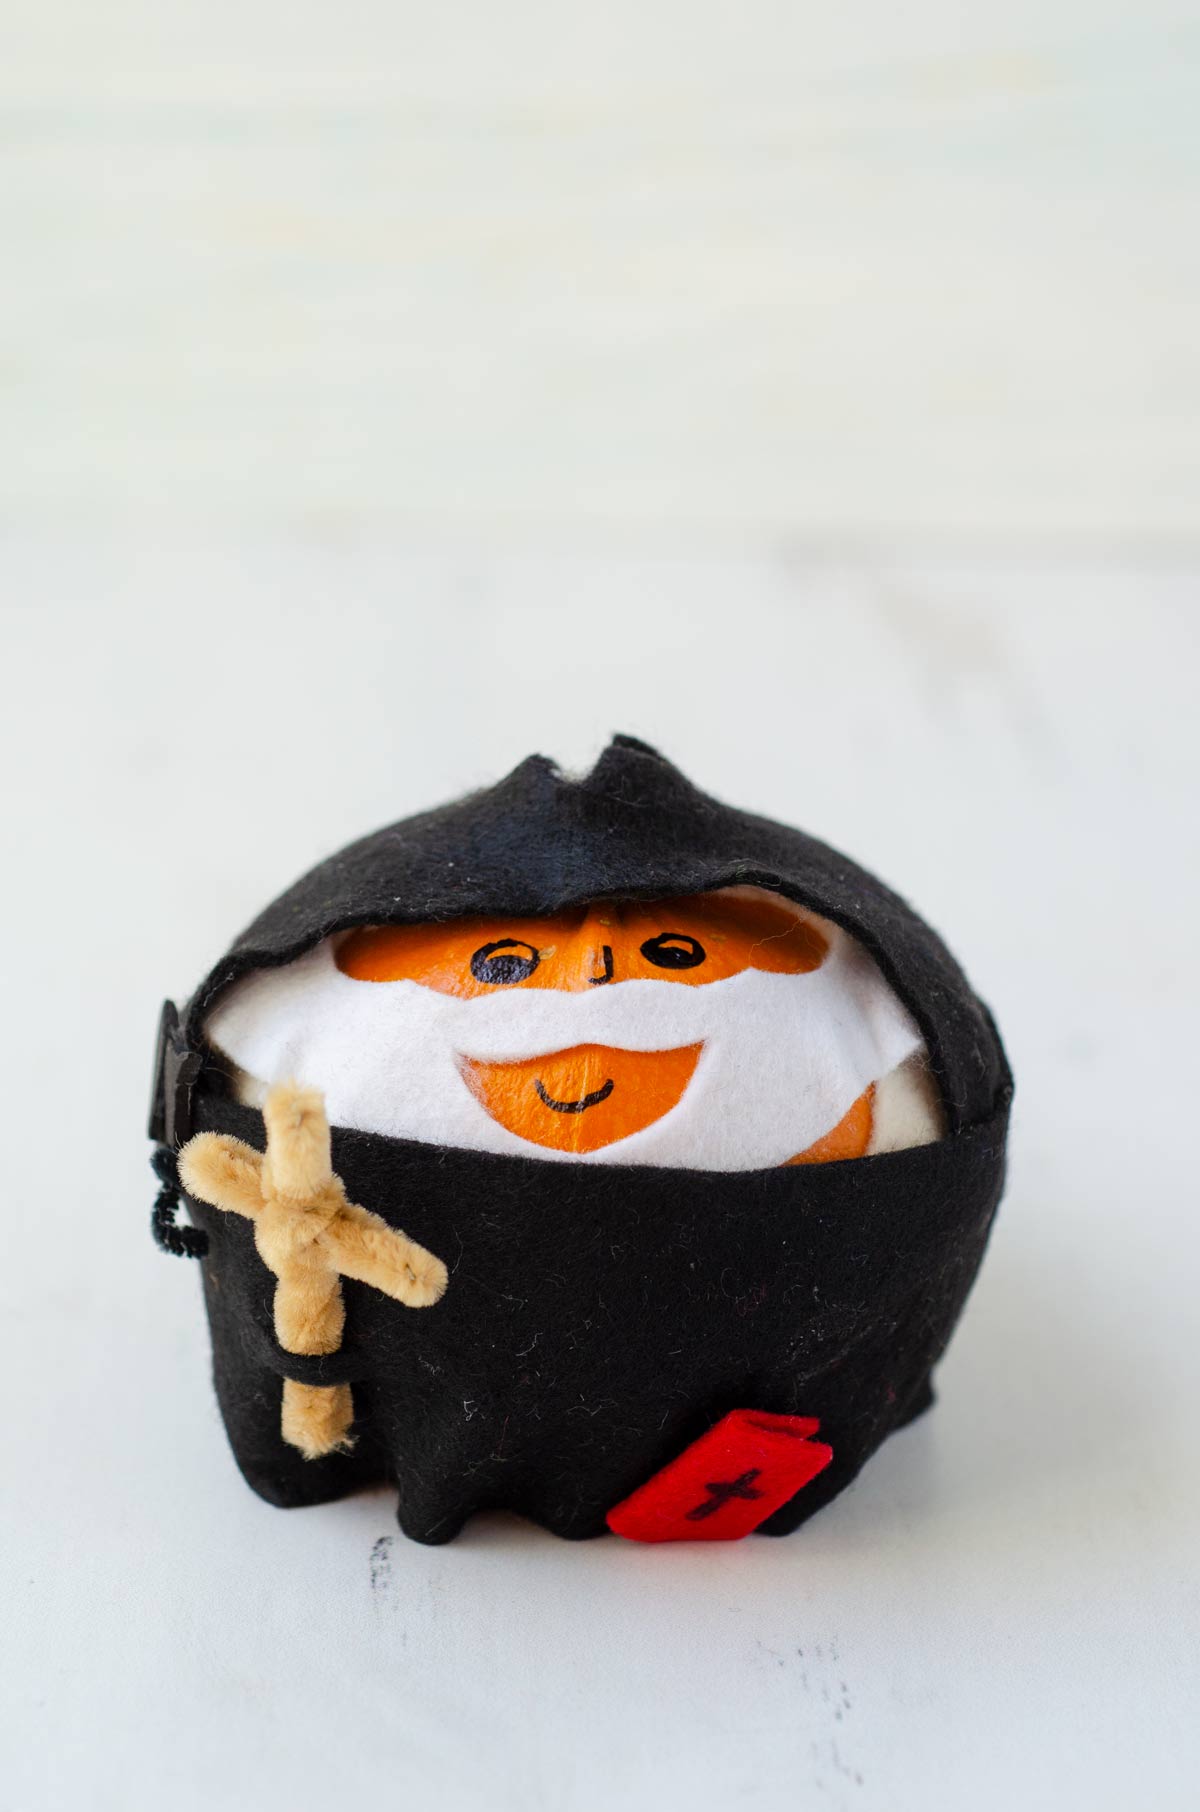
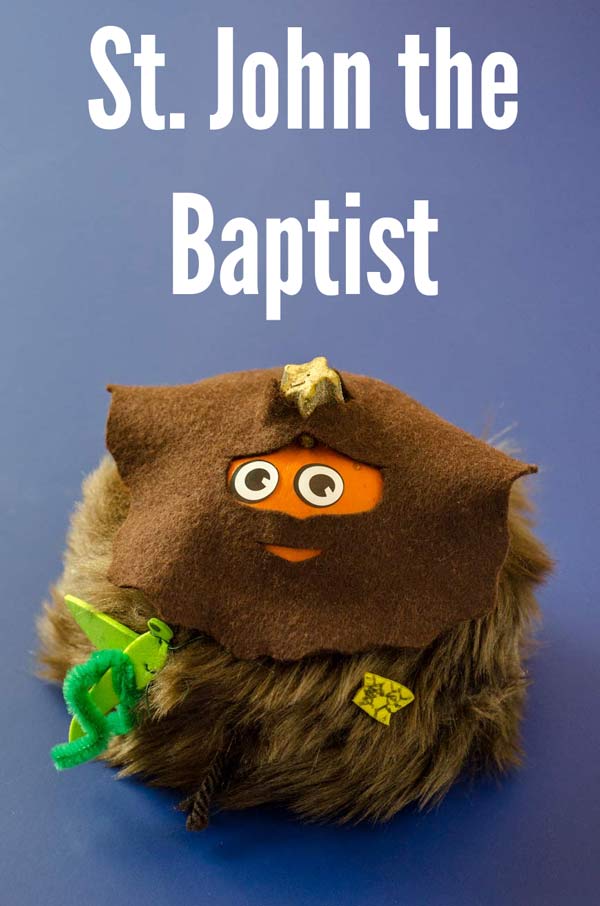
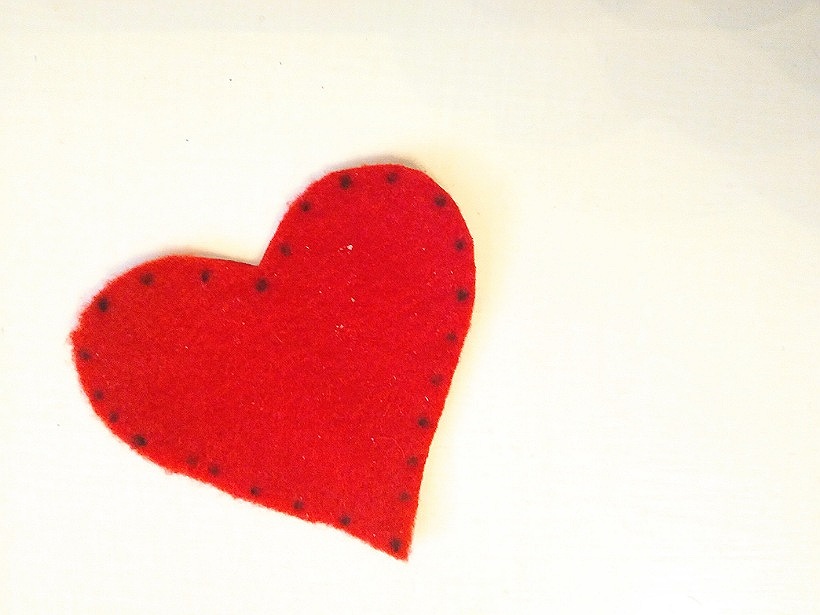
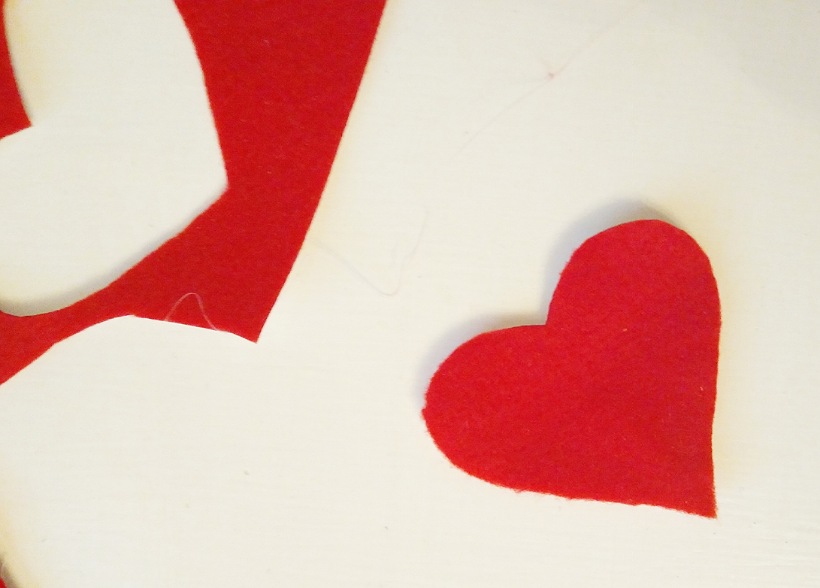 Next, snag some of your leftover sticky felt from making Saint Pumpkins, and cut out a heart to fit inside the edges of the square. I gave mine about a 1/4″ worth of edge. Mark your felt heart with a sharpie along the edge to indicate where you’ll place the nails. To make it as symmetrical as possible, start with the top and bottom points, and the topmost spot on the curves. Then, go for the bottom of the curve on either side – right before the shape starts to go into a straight line. From there, eye it or measure it to place each nail equidistance from each other and mirror your dots on the other side.
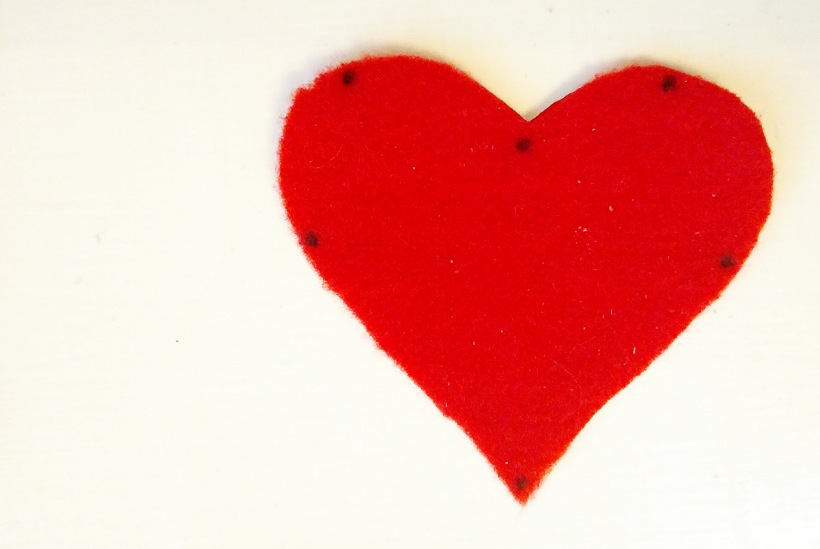 With your template ready, peal off the back, and stick it on your hand, then on your jeans a time or two. This will make it less sticky so that it peals right off when you need it to. Stick it in the middle of your square and grab your hammer and penny nails. You’ll be driving the nails in around the edges of the heart, not through the felt. The kids might actually like to try out this part. They will definitely hammer their fingers, but not in an ice-pack-worthy way. You can even find little hammers, perfect for kid hands, at Walmart. You will also hammer your fingers . . . and wear them out . . . and probably stop after 9 or 10 of these because they each take 20-30 nails. Thankfully, they will start feeling better after just a few hours break, at which point you can pretend they don’t and abandon the project completely.
 With the ones you do manage to make, you can find those tiny rubber bands that end up everywhere and stretch each one between two nails. Check the couch cushions, on the floor of the linen closet, and along the edges of the hallway where the vacuum can’t quite get things. Oh, or maybe yours are still in a bag? Did you buy a reasonable amount when you decided to make your kids a geoboard with a chunk of 2×12 and spare golf tees from yet another craft? And then put it in a place where it wouldn’t be disturbed by small hands? Wow. That’s really clever of you. I’ll have to think about that the next time I go for the 3,000 pack of something over the 200 pack just because of the outrageous per unit cost difference. Sanity over savings.
Past decisions aside, you’ll need 15 to 20 little rubber bands for each one. The kids can definitely help with this part without smashing their fingers. Then, you’ll just need a message for the back. Don’t worry, I’ve got you covered. I wrote up a little poem and threw in some design elements from Canva (free, online design website). Voila, le PreK Valentine poem. If you want to make up your own thing, or only use the words of the poem, go for it! It goes like this:
Far apart we may be
but God’s love, as you can see,
stretches to connect us all,
whether the distance is great or small.

I’m having my youngest write her name for her classmates, and then we’ll glue and shellac it on the back of each one. Or maybe just glue? They are due up at school by Wednesday.
Now, if instead you want to skip the project, but you like the cute label, here it is as a PreK Valentine poem coloring sheet! If you come up with other uses, I’d love to hear about it. Email us at [email protected], or put it in the comments section below.
